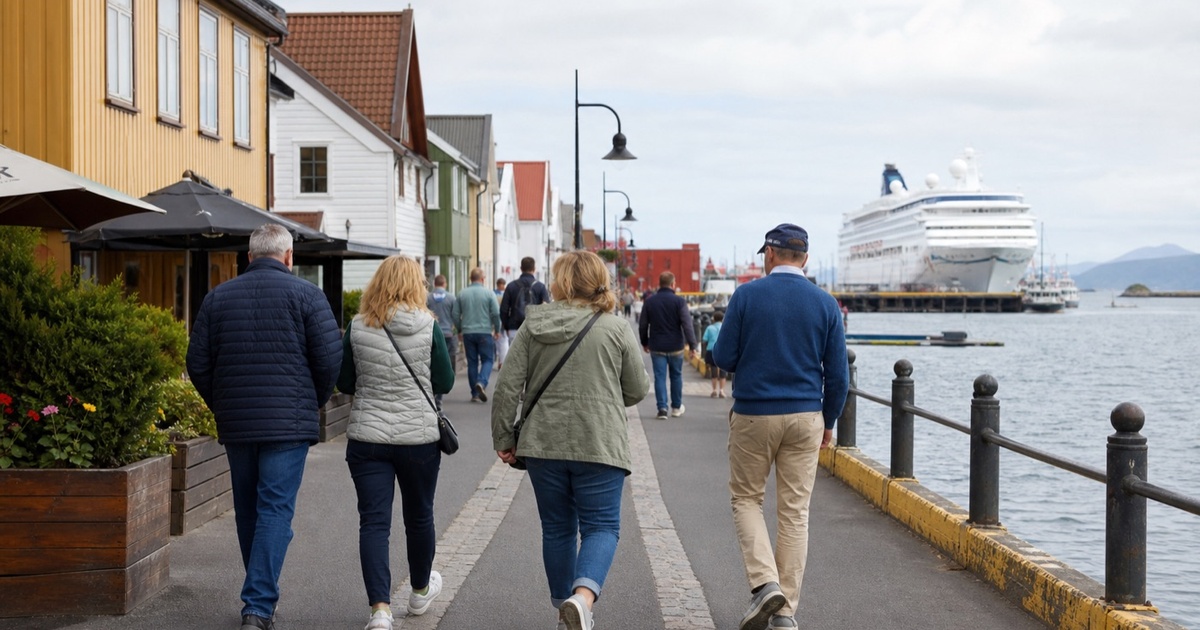
Port-day is where a cruise wardrobe is tested in real time. The terminal walk, transfer ride, first gate, and first excursion all ask different things from the same carrying system. If you pack for all of them separately, one backpack becomes too heavy and one pair of shoes becomes your bottleneck.
A hands-free port-day system removes friction by choosing one carry plan, one pair of footwear roles, and one layer architecture. The goal is not maximal comfort in every scenario. It is to define one set of reliable choices that can stretch across wind, long stepping, short transfers and changing temperature without rebuilding from zero.
Elite Fashion may earn a commission from qualifying purchases made through shopping links on this page. Links are selected for editorial fit and practical relevance; availability, materials and retailer terms can change.
Quick Answer
For a standard shore excursion day, start with: (1) one hands-free carrying format with a clear split between essentials and discretionary items, (2) one high-support walking shoe and one compact optional backup, (3) one base layer, one compact layer, one optional shell. Keep your carry structure light by removing unused layers before you go inland. Let movement, not aesthetics alone, decide final choices.
Use the Itinerary Before the Mirror
Do not choose everything by outfit preference. Choose by excursion profile: short transfer + one museum? Another day: long bus transfer + incline + city walking. Another day: shoreline, harbor transfer, and uneven walkways. The same person can carry too much if every possibility is packed from emotion and too little if weather and movement are ignored.
Use CruiseGuide's Port-Day Planner as a starting constraint list. Its practical value is in reminding you what to check before packing: weather change cadence, walking duration, transfer structure and whether a ride has storage limits.
Build the Carry Skeleton First
Build around five jobs instead of seven accessories:
- Documents and passport safety (quick access)
- Medication and comfort items that stay with you through transfers
- Phone, wallet and one emergency backup payment method
- One hydration and one quick clean-up utility
- A foldable shell or light layer for temperature shifts
Now compare the products below as categories, not as purchases.
Choose One Bag That Actually Works Hands-Free
A hands-free setup is meaningful only when it supports movement across multiple surfaces and short-distance transitions. For many people, that means a small crossbody or secure day-pack that allows one-handed boarding moments, one-step boarding changes, and easy access to documents without digging through soft fabric layers.
Check three constraints before choosing:
| Constraint | Test at home | Decision rule |
|---|---|---|
| Shoulder stability | Walk 15 minutes carrying your planned items | If the load shifts more than two times, reduce the load or change strap height. |
| One-hand access | Practice pulling passport and card from same side | If access is blocked by a zipper, re-trim your layout. |
| Closure confidence | Jump-step twice and sit stand once | Choose zips/snaps that do not pull loose at the sides. |
| Weight threshold | Load with all planned items then re-weigh | Keep it lighter than one jacket equivalent. |
Set a Footwear Rule Before You Buy
Footwear failures create the most common port-day interruption: sore arches, unstable heel, or water-heavy sole after the first wet block. Many people overcorrect by carrying a second pair “just in case.” Better is one better pair and one true alternate.
Use this practical sequence:
- Choose your main pair from your hardest likely surface.
- Choose a second pair only if it solves an actual missed need (formal moment or recovery gap), not as a generic contingency.
- Try the shoes indoors for 2–3 hours before you travel; if skin rub appears, switch early.
Then compare candidates with the lens below.
| Condition | Main pair priority | Backup pair priority |
|---|---|---|
| Rain and long walking | Closed sole, stable cuff | Light waterproof overlay only if needed |
| Warm city ports | Breathable yet protective sole | Clean easy shoe for indoor movement |
| Religious or formal sites | Footwear that fits the expected dress expectation | Optional compact smart shoe |
| Rail / tender transfer | Traction and side support | Secure step-in style for comfort pauses |
Layering Is About Exit Flexibility
A port-day layer plan should keep heat and humidity control simple. Build it as if one item can fail, and others should still keep the outfit functional. Avoid “one jacket for every moment” traps where you are either too hot indoors or under-prepared outdoors.
A simple sequence is usually easiest:
- Base layer for movement, not styling only
- Compact knit or quick layer for open spaces
- Shell for wet, windy, or cool transitions
- Optional scarf or small coverage for cultural expectations
If the plan fails this test, simplify: remove one layer now, then add the exact shell only for the transfer and weather window.
Use the Shore Day as Three Micro-scenarios
Scenario 1: Short City Crawl
For a short city walk with many entry points, prioritize documents, shade, hydration, and easy pocket access. The shell can stay in the bag if the forecast is stable. Your base and second layer do the work.
Scenario 2: Long Wet Walk
For longer routes with mixed surfaces, the shell and socks become active earlier. Keep your hands open for camera and rail cards. That makes the day physically safer and mentally less taxing.
Scenario 3: Cultural Visit Site
Site-specific dress can change quickly. If head coverings or shoulder coverage is required, add one clean piece with the smallest practical footprint. It is better to carry one dedicated modest piece than a second bulky option.
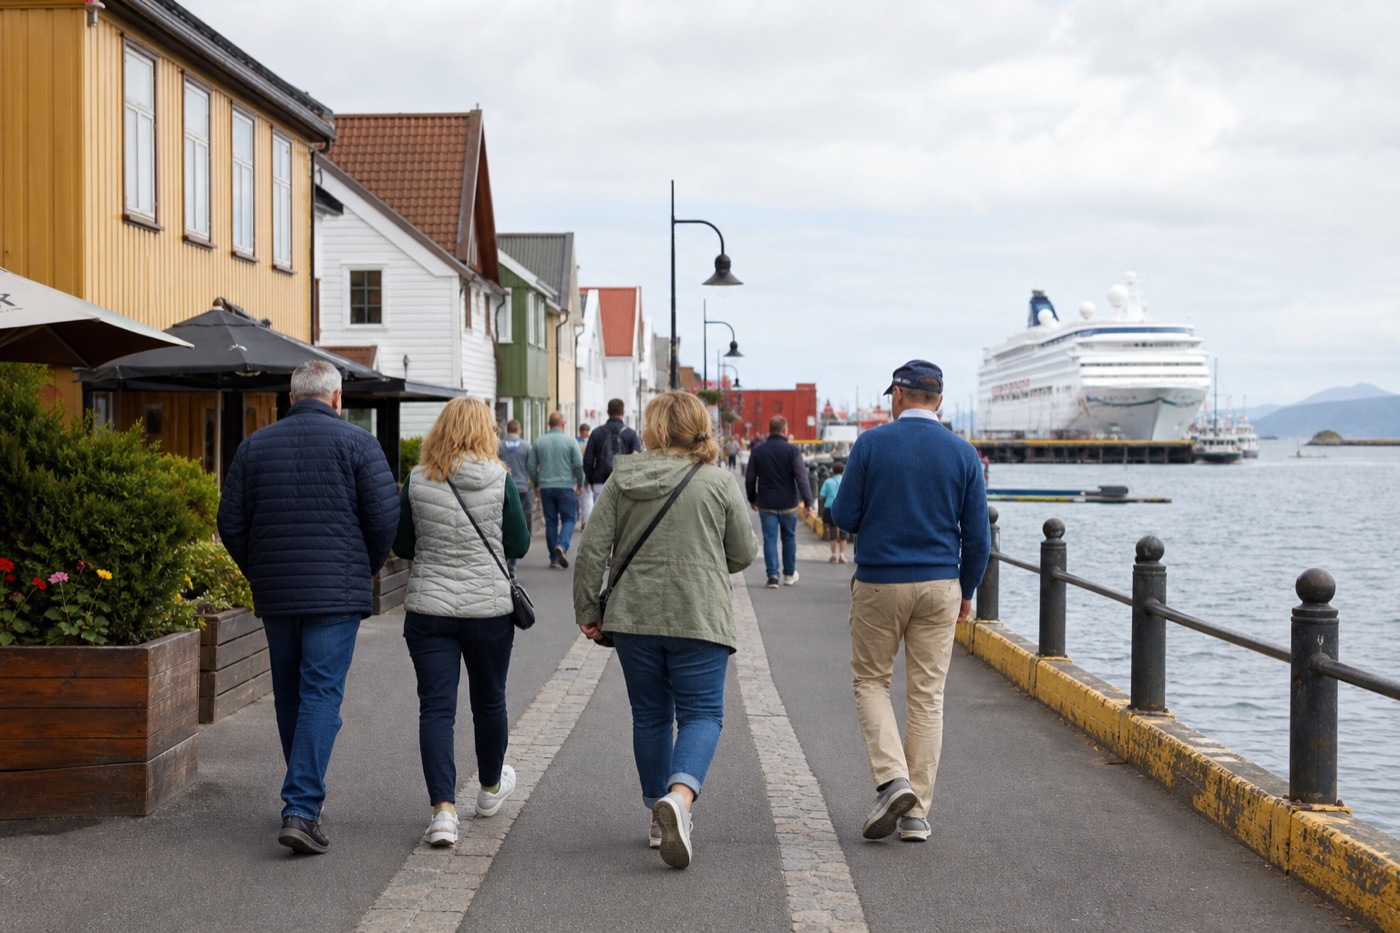
Decision Table for Quick Repacking
| Symptom | Likely cause | Fix before boarding |
|---|---|---|
| Pockets feel unstable | Overloaded side module | Move one discretionary item to suitcase if possible. |
| Bag blocks passport access | Wrong inner layout | Move passports and cards to front zipper. |
| Feet start rubbing | Wrong sock and shoe pairing | Switch to spare pair if pre-planned; reduce pace and re-lace. |
| Shell too warm | Outer layer is not layered properly | Remove shell and replace with top and light knit. |
| Hands stay occupied | No designated hands-free setup | Shift water, document and emergency tools into crossbody loop. |
Prevent the Hidden Fatigue Cost
Most travellers underestimate shoulder fatigue because they evaluate comfort at the start. Fatigue shows up after transfers, especially once you carry repeated small loads: water, coat, receipts, camera, sunwear, medication and keys.
Build a fixed “keep close” and “keep later” system. Keep close items on your body system. Keep later items in the suitcase or room. Remove the backup shoes from your primary carry setup unless you need them for a pre-planned dinner or a clear accessibility reason.
Shop the Port-Day System
These links map to practical category checks, not finished outfits. Compare fit and fitment details with your itinerary before buying.
How to Tune the Plan Over Three Days
When a week of port days arrives, carry the same category framework and tune one layer or one item each day:
- Day one: confirm weather and comfort of your shoe.
- Day two: adjust bag layout for access and pace.
- Day three: decide whether one backup item is removable.
Then keep only the items whose removal causes a decision penalty. The fewer your mandatory items, the less your hands are burdened during a transfer window.
Related Reading and Next Steps
Before You Buy
Use the links above as category-level starting points. Remove options until each item has a specific, recurring role across weather, walking and transfer time. Then verify dimensions, materials, care, return policy and current availability before purchase.
FAQ
Do I need two pairs of shoes for every shore excursion?
Usually one reliable pair can work for most ports. A second pair is useful only if your confirmed schedule includes a formal requirement or a clearly different terrain pattern.
What should I put in the hands-free bag first?
Start with documents, phone and wallet, then water and medication, then one layer change and a compact repair utility. Keep discretionary items for last.
How much should a hands-free setup weigh?
There is no fixed number, but if your shoulders or hips are constantly adjusting position in under five minutes, it is too heavy or badly distributed.
Can a shell replace a second shoe?
Usually no. Shell improves weather handling; shoe choice determines comfort and safety for walking. Treat them as separate decisions.
How do I avoid overpacking for one unknown excursion day?
Use the three-scenario model (short city crawl, long walk, cultural visit) and map your top three carry items to each scenario before packing.
Browse Broader Categories
Use these category entrances once core roles are fixed.